You can use the mApproval function to create approval groups in the platform. These groups allow you to have a minimum of reviewers for each assessment. To create an approval group and add individuals to it, please follow the steps below:
Step 1 – Create an Approval Group
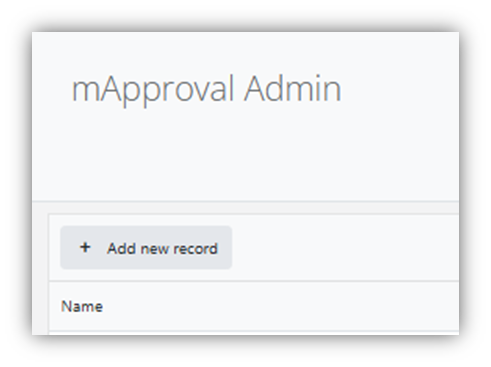
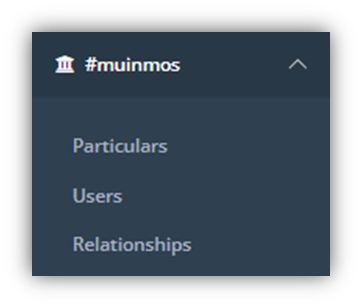
Navigate to the “mApproval Settings” page. This page can be found in the sidebar:

Click “Add New Record” in the top left corner of the screen:
Fill in the information required, then hit “Update”:

The fields required are as follows:
Name: The name of the approval group
Description: The purpose of the approval group
Minimum Approvers: The minimal amount of individuals that must give their approval for an assessment to be approved.
Example:

Step 2 – Add user to Approval Group
Navigate to the Users page. This page can be found in the sidebar:
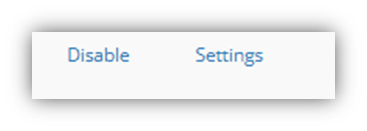
Navigate to the user you are seeking to add to the group, and click on “Settings” on the right side of the screen:
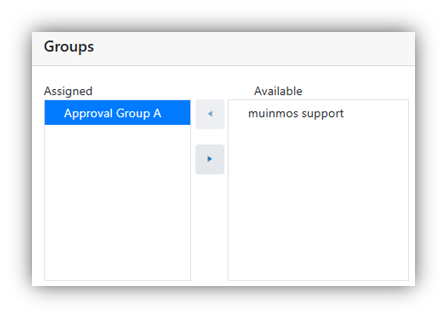
To the right of the Settings screen is the Groups area:
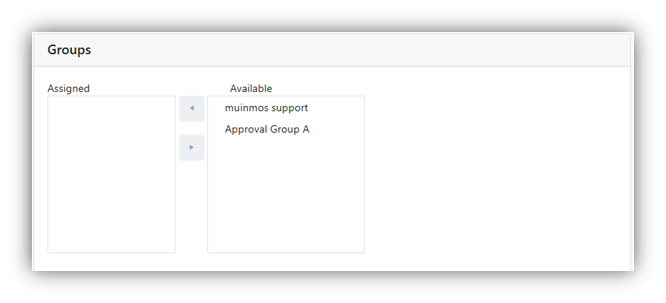
In the “Available” box, click on the name of the group to which you wish to assign the user, then the left arrow:

The user will then be assigned to that Approval Group:
Step 3 – Approving an Assessment
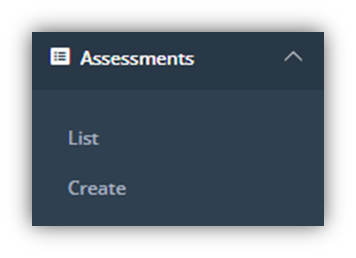
Navigate to the Assessments List page. This page can be found in the sidebar:
Click on the yellow “Approvals” button for the assessment you wish to approve:

The following screen will appear. Use the State button to select the Assessment’s approval status (from Approved, Rejected, and Pending), and add an explanatory note where required:

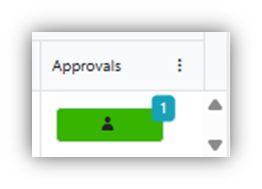
If you select “Approved,” and the minimum number of approvers have approved the assessment, then the Approvals box will turn green:
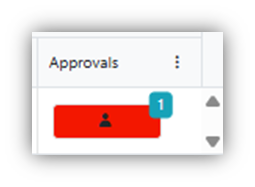
If you select “Rejected,” then the box will turn red:
Otherwise, the box will remain Orange; i.e. in a pending state.
At this stage, if you click on the Approvals box, you will see an audit trail of the varying Approvals & Rejections, and any notes that have been added:
